


Bubble Effect Button Tutorial: HTML, CSS, JS for Beginners
Learn to create a fun bubble effect button with HTML, CSS, and JavaScript! This beginner-friendly tutorial from Neody IT explains the code and boosts your web design skills. Get the code on GitHub!
Bubble Effect Button: A Fun and Interactive Web Design Tutorial for Beginners
Welcome to Neody IT! If you're a beginner looking to add a splash of creativity to your website, this tutorial is for you. Today, we’ll explore how to create a stunning "bubble effect button" using HTML, CSS, and JavaScript. This interactive button features a vibrant design with animated bubbles that burst when clicked, making your site more engaging. Perfect for beginners, we’ll break down how it works and why it’s a great addition to your web projects. Find the full code on our GitHub repository!
What Is a Bubble Effect Button?
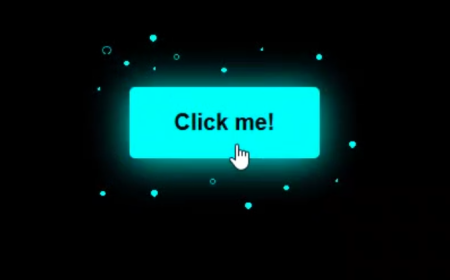
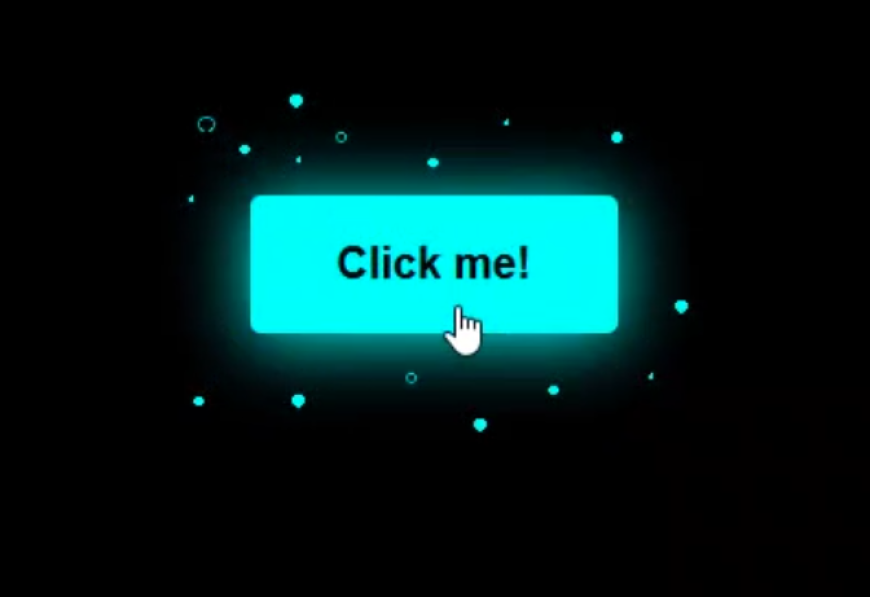
A bubble effect button is a visually appealing, interactive element. When clicked, it triggers a playful animation where bubbles seem to float and burst around it. It’s built using three core web technologies: HTML for structure, CSS for styling and animation, and JavaScript for interactivity. This combination creates a dynamic user experience, ideal for call-to-action buttons on sites like Neody IT (neodyit.in)!
How It Works: A Beginner’s Guide
1. HTML - The Foundation
The HTML sets up the button and links to external resources. It includes a simple
2. CSS - Styling and Animation
CSS brings the button to life! Here’s how:
- Styling: The button gets a bright background color, rounded corners, and a glowing shadow for a modern look. Padding and font settings make it clean and readable.
- Pseudo-Elements: Two hidden layers (before and after the button) hold radial gradients—circular shapes that mimic bubbles.
- Animations: When triggered, keyframes move these "bubbles" upward and downward, shrinking them to zero size for a bursting effect. Smooth transitions and timing ensure it feels natural.
3. JavaScript - Adding Interactivity
JavaScript makes the button respond to clicks. A function listens for a click event, adds a class to start the animation, and removes it after a short delay (700 milliseconds) to reset. This loop lets users click repeatedly, keeping the experience fun and interactive.
Why Use This on Your Website?
- User Engagement: The bubble effect grabs attention, encouraging visitors to interact with your site.
- Visual Appeal: Bright colors and animations make your design stand out, perfect for a tech-savvy brand like Neody IT.
- Beginner-Friendly: This project uses basic HTML, CSS, and JavaScript, making it a great learning tool for new coders.
How to Implement It
- Get the Code: Grab the full source from our GitHub repository.
- Customize: Change colors, sizes, or timing in the CSS to match your site’s style.
- Test: Open the HTML file in a browser, click the button, and watch the bubbles animate!
- Deploy: Add it to your site at neodyit.in for a lively call-to-action or feature button.
Tips for Beginners
- Experiment: Tweak the bubble sizes or animation speed in the CSS to see what happens.
- Learn More: Research CSS keyframes and JavaScript event listeners to deepen your skills.
- Keep It Simple: Start with this, then explore more complex effects as you grow confident.
Why Neody IT Loves This
At Neody IT, we’re passionate about innovative, user-friendly web design. This bubble effect button is a simple yet powerful way to elevate your site. It’s perfect for showcasing services, linking to social media, or just adding fun! Check out the code on GitHub and start building today.
Happy coding from Neody IT! Visit us at neodyit.in for more tutorials and tech tips!
Keywords: bubble effect button, web design tutorial, HTML CSS JavaScript, beginner web development, interactive button, Neody IT, neodyit.in
What's Your Reaction?
 Like
4
Like
4
 Dislike
0
Dislike
0
 Love
1
Love
1
 Funny
0
Funny
0
 Angry
0
Angry
0
 Sad
0
Sad
0
 Wow
1
Wow
1