


Create a Magic Cursor Tracker Using HTML, CSS & JS
Add a stunning magic cursor to your site using HTML, CSS, and JS with this easy Neody IT tutorial.
Create a Magic Cursor Tracker using HTML, CSS & JavaScript
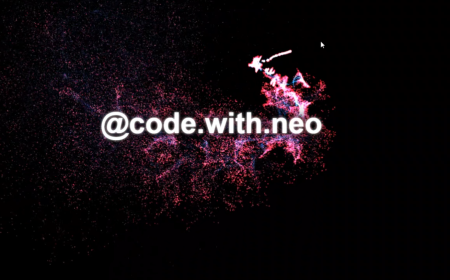
Interactive elements can make your website stand out and increase user engagement. One of the most visually appealing features you can add is a magic cursor tracker. This effect follows your mouse with a trail of animated particles, giving your site a modern, dynamic feel.
In this tutorial, we’ll guide you through how to create a magic cursor tracker using HTML, CSS, and JavaScript, powered by the threejs-toys library.
Source Code Available:
Download from GitHub
Why Add a Magic Cursor?
A magic cursor is more than just decoration. It can:
-
Make your UI feel interactive and polished
-
Increase average session time
-
Improve your site's creative appeal
-
Impress visitors with minimal performance cost
Used correctly, it enhances your site's professionalism and user experience.
Technologies Used
Here’s what we use in this project:
-
HTML5 for layout structure
-
CSS3 for styling and effects
-
JavaScript (ES6 Modules) for animation logic
-
Three.js (via
threejs-toys) for WebGL-powered visuals
HTML Layout Setup
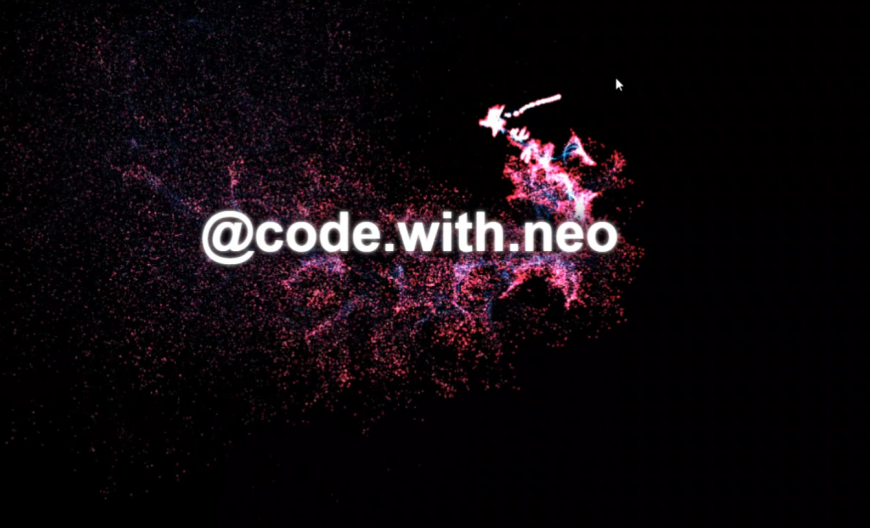
The base layout is very simple and clean. We use a div with id="app" as the container for the particle canvas and hero content.
<div id="app"> <div id="hero"> <h1>@code.with.neo</h1> <a href="https://neodyit.in/">Visit my website</a> <a href="https://www.instagram.com/code.with.neo/">Follow me</a> </div> </div>
You can add your branding or call-to-actions within this section.
CSS Styling and Layout
The CSS styles are used to create a fullscreen, centered layout with glowing text and transparent buttons. This style makes the cursor trail stand out more prominently.
body, html, #app { margin: 0; width: 100%; height: 100%; } #app { overflow: hidden; color: #ffffff; font-family: 'Montserrat', sans-serif; text-align: center; text-shadow: 0 0 5px #ffffff, 0 0 20px #000, 0 0 30px #000; } #app h1 { --fontSize: 60px; --lineHeight: 80px; height: calc(2 * var(--lineHeight)); line-height: var(--lineHeight); margin: calc(50vh - var(--lineHeight)) auto 0; font-size: var(--fontSize); }
Using Threejs-Toys for Particles
We use threejs-toys, a lightweight WebGL toolkit that integrates easily with your DOM and provides beautiful particle animations. First, import it directly via CDN:
import { particlesCursor } from 'https://unpkg.com/threejs-toys@0.0.8/build/threejs-toys.module.cdn.min.js';
Next, initialize the cursor with configuration settings.
const pc = particlesCursor({ el: document.getElementById('app'), gpgpuSize: 512, colors: [0x00fffc, 0x0000ff], color: 0xff0000, coordScale: 0.5, noiseIntensity: 0.005, pointSize: 2, pointDecay: 0.0025, sleepRadiusX: 250, sleepRadiusY: 250, sleepTimeCoefX: 0.001, sleepTimeCoefY: 0.002 });
Handling Mouse Movement
To make the cursor respond to the user's movement, we normalize the mouse position and update the particle system using event listeners.
document.addEventListener('mousemove', (event) => { const mouseX = event.clientX / window.innerWidth; const mouseY = 1 - event.clientY / window.innerHeight; pc.uniforms.uMousePos.value.set(mouseX, mouseY); });
This tells the particle effect where to render based on cursor position.
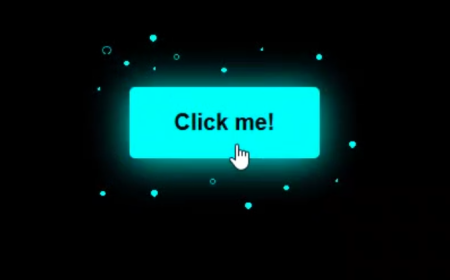
Creating Dynamic Effects on Click
We enhance interactivity by randomizing color, size, and intensity of particles when the user clicks anywhere on the screen.
document.body.addEventListener('click', () => { pc.uniforms.uColor.value.set(Math.random() * 0xffffff); pc.uniforms.uCoordScale.value = 0.001 + Math.random() * 2; pc.uniforms.uNoiseIntensity.value = 0.0001 + Math.random() * 0.001; pc.uniforms.uPointSize.value = 1 + Math.random() * 10; });
After 2 seconds, it resets to default:
setTimeout(() => { pc.uniforms.uColor.value.set(0x000000); pc.uniforms.uCoordScale.value = 0.001; pc.uniforms.uNoiseIntensity.value = 0.0001; pc.uniforms.uPointSize.value = 0; }, 2000);
This creates a temporary animation burst that disappears automatically.
Customization Tips
This setup is flexible. You can easily:
-
Change the color scheme to match your brand
-
Adjust particle size and speed
-
Use toggle buttons to enable/disable the effect
-
Add particle trails on click or hover only
SEO & Performance Benefits
Using WebGL-based particle systems is GPU-accelerated, meaning it doesn’t heavily tax CPU. While the effect is primarily visual, it can enhance:
-
User retention: Engaging visuals lead to longer sessions
-
Interactivity: Adds depth to user experience
-
Shareability: Unique effects make your site more memorable
Just remember to test on mobile and low-end devices, and consider lazy-loading the script for better page speed.
Full Source Code
Instead of pasting the full code here, you can download or fork the project directly from GitHub.
Download here:
https://github.com/neodyit/instagram/tree/main/magic-cursor
Conclusion
A magic cursor tracker is an easy and impressive way to give your website a modern, interactive edge. Whether you're building a portfolio, a blog, or a landing page, small effects like these can greatly elevate the visual experience.
With just a few lines of code and a WebGL library like threejs-toys, you can implement this effect without slowing down your site.
Need help or want to showcase your version?
Tag or message @code.with.neo on Instagram.
What's Your Reaction?
 Like
3
Like
3
 Dislike
0
Dislike
0
 Love
1
Love
1
 Funny
0
Funny
0
 Angry
0
Angry
0
 Sad
0
Sad
0
 Wow
1
Wow
1